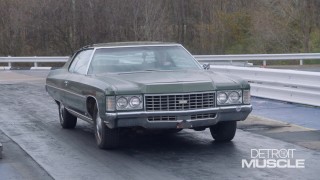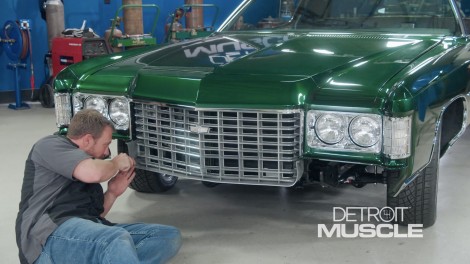
Project Fat Stack: Restoring The 1971 Chevy Caprice Front Grille
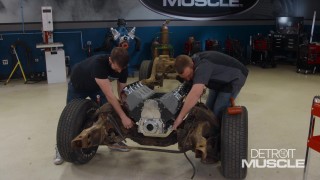
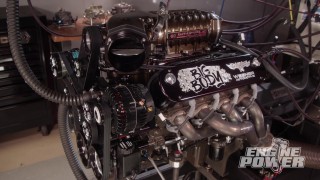
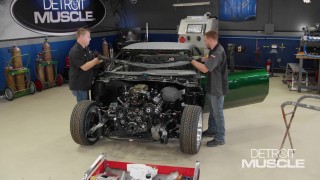
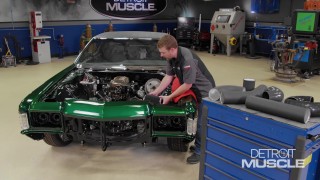
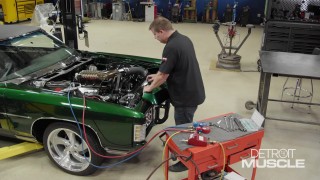
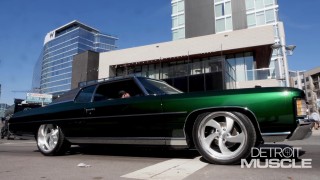
Face Value - For their 1971 Chevrolet Caprice, the guys restore a hard-to-find grille and finish the fuel system to fully power the supercharged LS.
Season 10
Episode 17
Hosts: Tommy Boshers, Joel McMillan
First Air Date: October 30, 2023
Duration: 21 minutes 27 seconds