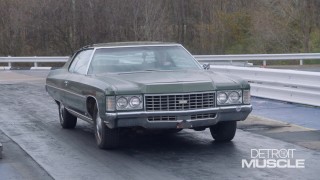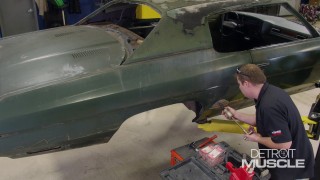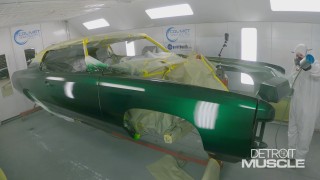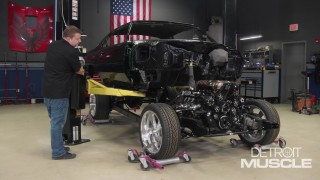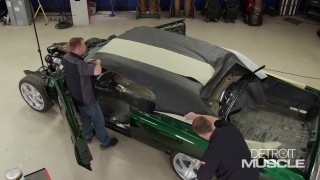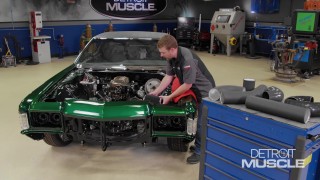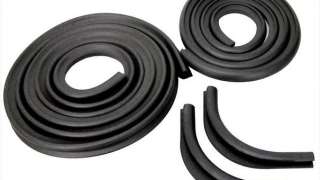
The Perfect Fit For The ‘71 Chevy Caprice Body Panels
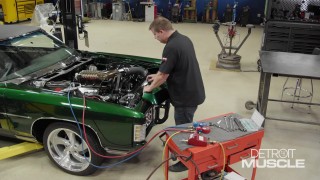
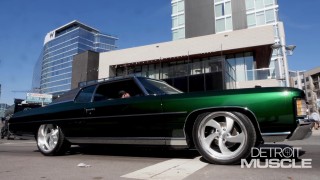
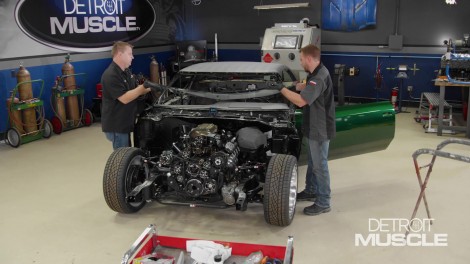
A touch of glass – We begin to piece our ‘71 Caprice Fat Stack back together, installing the front and rear glass as well as the hood, deck lid, and body panels showing you some how-to-hints for favorable fitment.
Season 10
Episode 10
Hosts: Tommy Boshers, Joel McMillan
First Air Date: August 7, 2023
Duration: 21 minutes 27 seconds