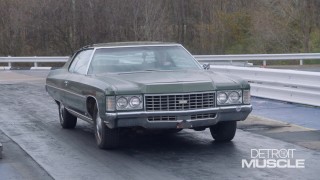
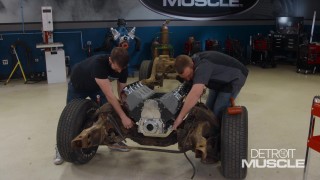
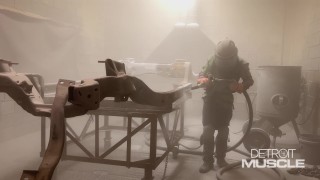
Tension Prevention With New Suspension For The ’71 Caprice -Fat Stack Part 3
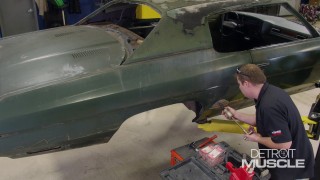
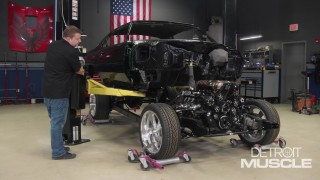
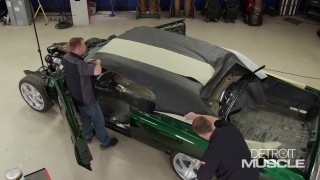
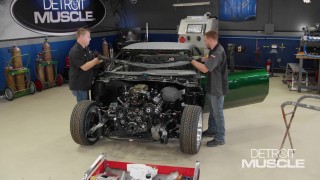
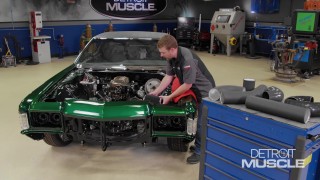
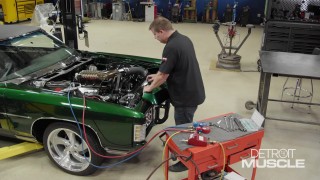
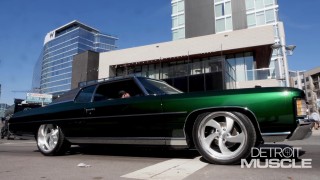
Tommy and Joel visit the powder room to freshen up the frame on Fat Stack, a 1971 Chevy Caprice, while upgrading their suspension in disbelief.
Season 10
Episode 3
Hosts: Tommy Boshers, Joel McMillan
First Air Date: March 6, 2023
Duration: 21 minutes 27 seconds