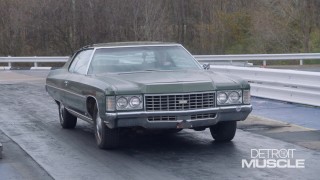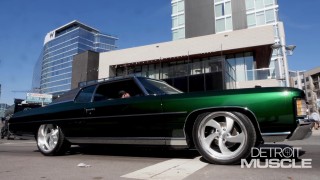
‘71 Chevy Caprice Gets Perfectly Polished Chrome
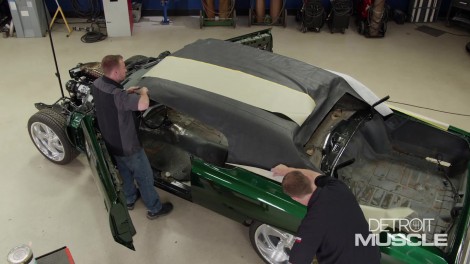
Chrome is where the heart is – Tommy and Joel update the bright work on their ‘71 Chevy Caprice and they’ll visit the chrome plater to break down how the new bling comes into being.
Season 10
Episode 9
Hosts: Tommy Boshers, Joel McMillan
First Air Date: July 31, 2023
Duration: 21 minutes 27 seconds