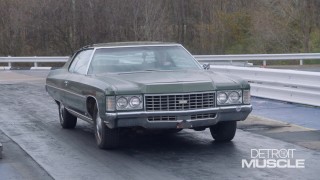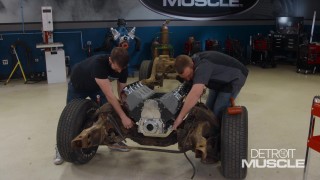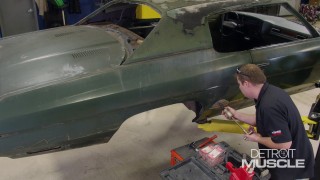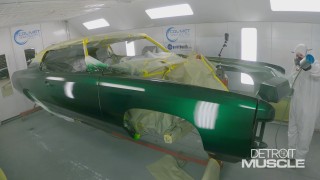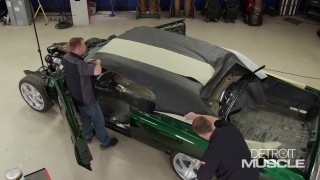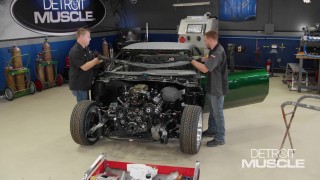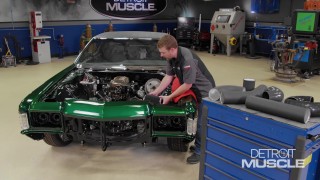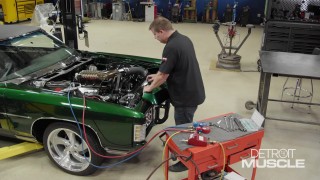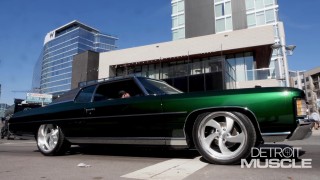
Reuniting The '71 Chevy Caprice With Its Updated Chassis
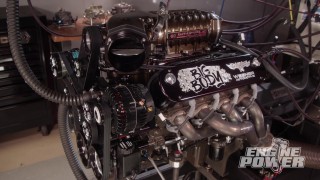
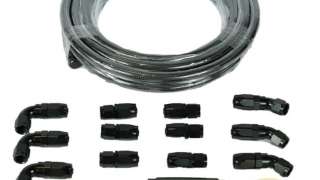
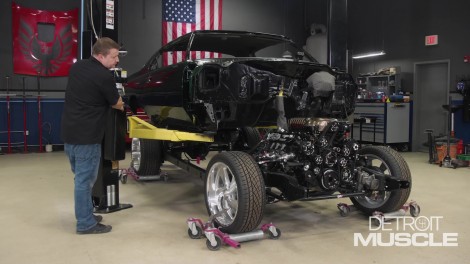
A marriage made in heaven – Our Fat Stack Caprice gets reunited with our updated chassis. Then it gets lined out with a new fuel system to ensure this LS can handle all of the horsepower of this heavy Chevy.
Season 10
Episode 8
Hosts: Tommy Boshers, Joel McMillan
First Air Date: July 24, 2023
Duration: 21 minutes 27 seconds