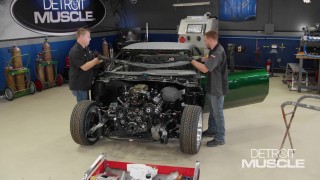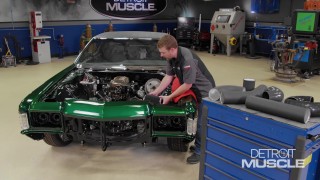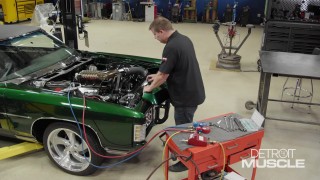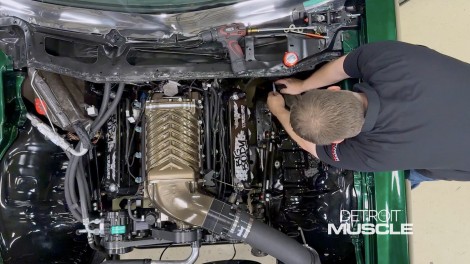
Project Fat Stack – Part 11
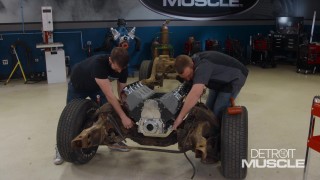
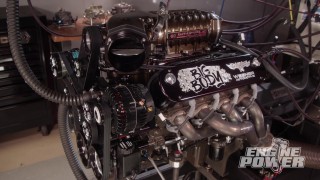
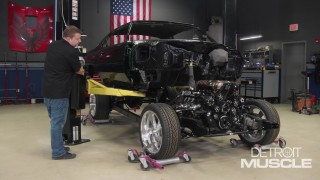
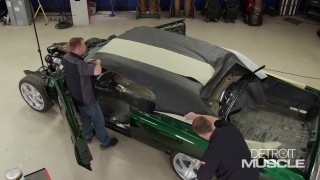
Clutch Performance – The guys finalize Fat Stack’s transformation from automatic to manual as they install the clutch and pedal assembly in their ’71 Caprice.
Season 10
Episode 14
Hosts: Tommy Boshers, Joel McMillan
First Air Date: October 9, 2023
Duration: 21 minutes 27 seconds