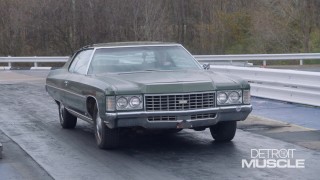
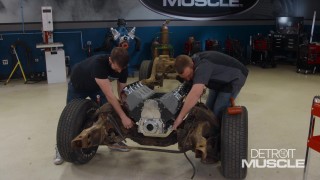
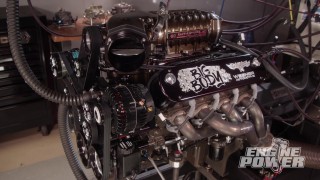
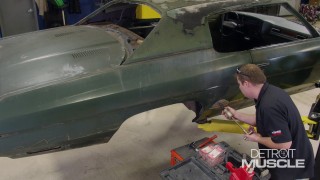
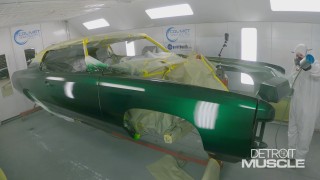
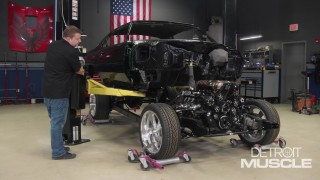
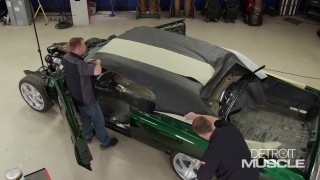
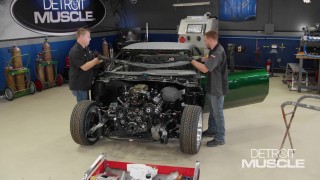
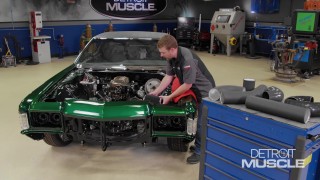
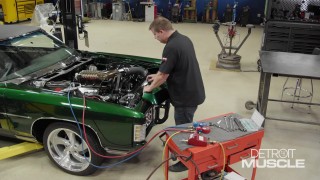
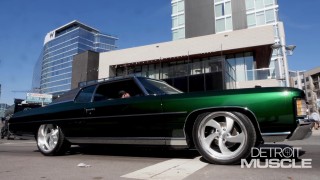
Cooling Down & Increasing Power On The ‘71 Chevy Caprice
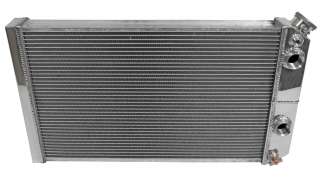
Cool Running – We install the cooling system on our ’71 Caprice and then put the pedal to the metal to give you the lowdown on electronic throttle vs mechanical.
Season 10
Episode 11
Hosts: Tommy Boshers, Joel McMillan
First Air Date: August 14, 2023
Duration: 21 minutes 27 seconds