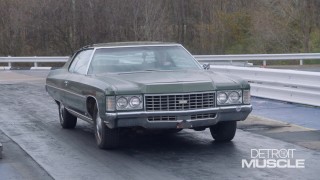
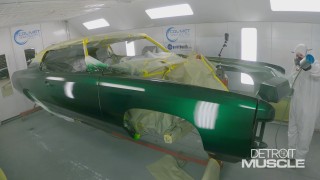
Adding Candy Color To The '71 Chevy Caprice - Fat Stack Part 5
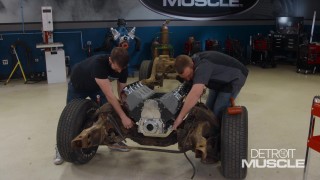
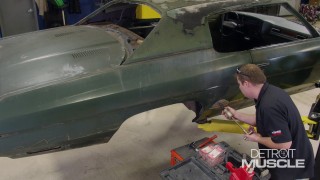
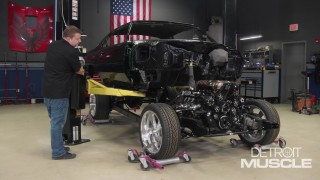
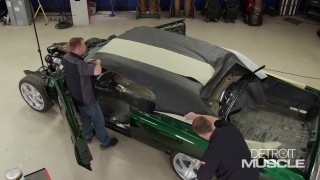
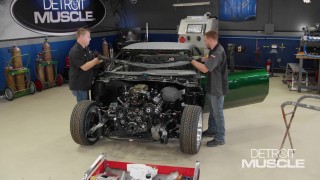
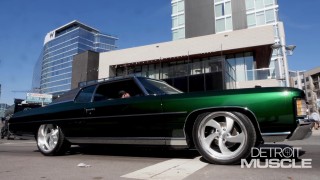
We slap on a fresh coat of paint to help transform our ’71 Chevy Caprice into a not-so-lean, mean, green machine! Then, we add a new vinyl top and marry the body back to the frame to bring Fat Stack one step closer to the finish line.
Season 10
Episode 5
Hosts: Tommy Boshers, Joel McMillan
First Air Date: May 15, 2023
Duration: 21 minutes 27 seconds