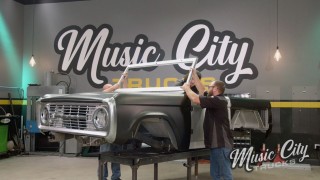
’74 Bronco Chills with Aftermarket Air Conditioning
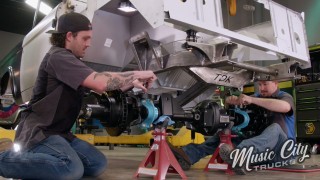
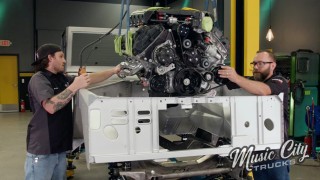
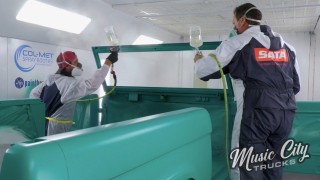
We wrap up the assembly of our Bronco as it gets a fuel system, exhaust, brakes, trim, gauges, and new air conditioning.
Season 1
Episode 17
Hosts: Brandon Burke, Marc Christ
First Air Date: November 6, 2021
Duration: 21 minutes 35 seconds