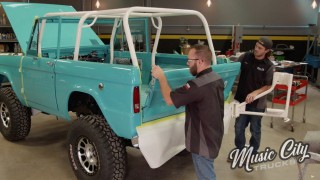
First Gen Bronco Gets a Modern Suspension
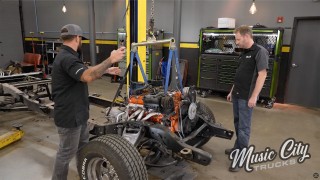
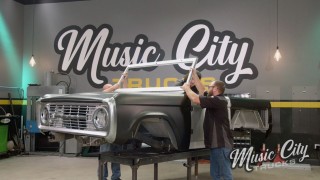
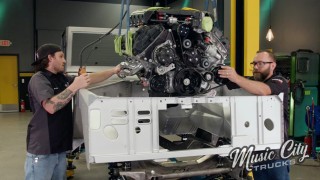
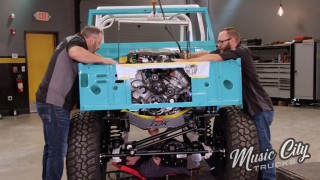
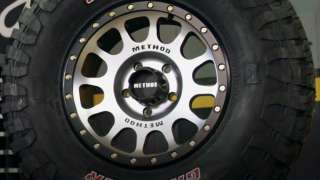
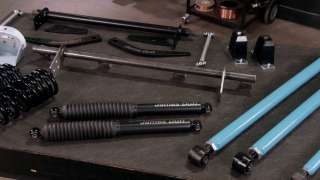
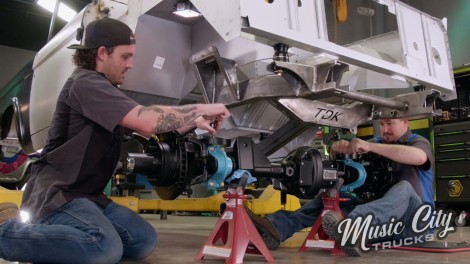
Our ’74 Bronco build is getting a suspension overhaul plus new axles, brakes, wheels and tires! And John Kramen from Mecum Auctions stops by to check on the progress.
Season 1
Episode 13
Hosts: Brandon Burke, Marc Christ
First Air Date: September 25, 2021
Duration: 21 minutes 35 seconds