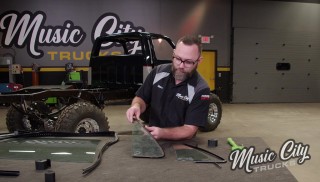
Faux Guy Square Body Gets Custom 3" Stainless Exhaust
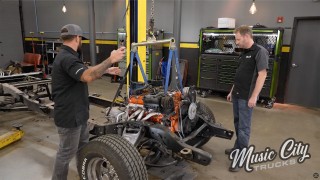
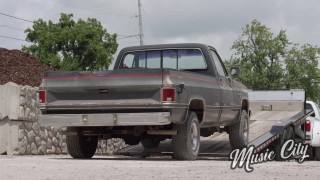
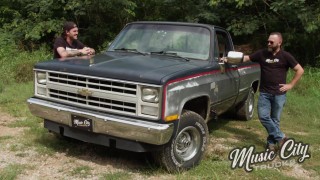
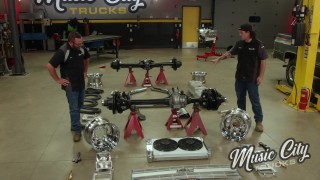
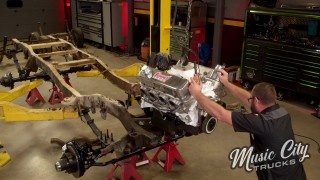
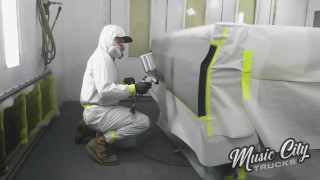
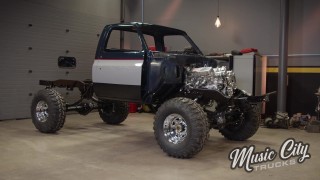
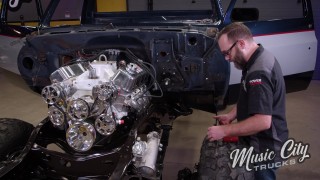
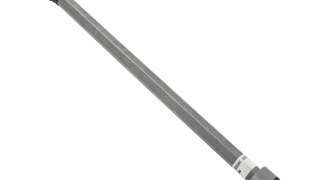
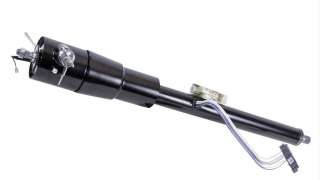
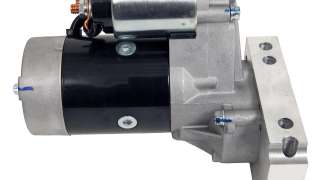
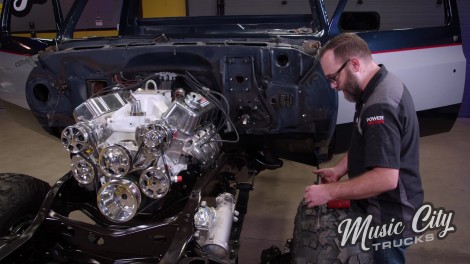
We start reassembling our 1985 Chevy K-10 square body. We’ll add steering, brakes, exhaust, and glass. Plus restoration components that will make our square body look young again!
Season 3
Episode 4
Hosts: Marc Christ, Michael Huxley
First Air Date: February 27, 2023
Duration: 21 minutes 27 seconds