


More Faux Guy K10 Square Body Truck Episodes
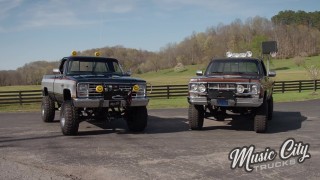
Music City Trucks Featured Projects


Music City Trucks Builds


Want more content like this?
Join the PowerNation Email NewsletterParts Used In This Episode
Classic Industries
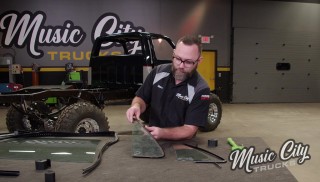
Restoration Parts: Grill, Bow Tie Logo, Headlights, Turn Signals, Side Markers, Fender Badges, Door Seals & Gaskets

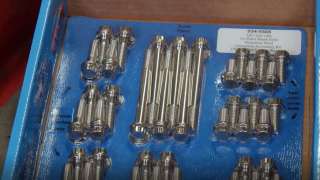
The Industrial Depot
Tools, Hardware, Shop Supplies


