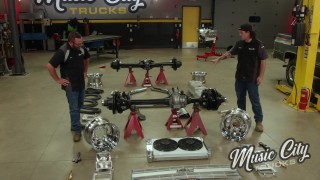
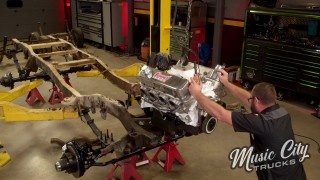
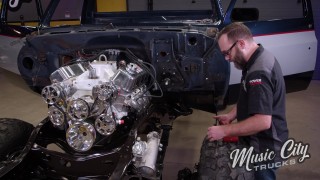
Faux Guy Square Body Gets 1-Ton Dana 60 Axles
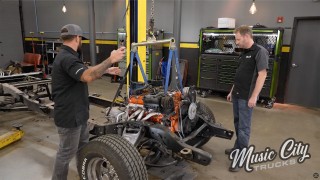
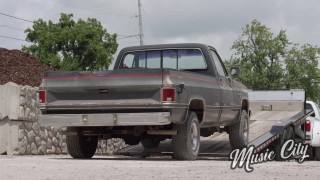
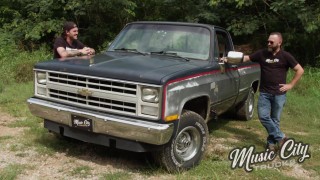
The transformation continues on this clean '85 K-10 square body. We remove the cab and axles, then tear it down to the bare chassis. We'll unveil some exciting upgrades to give this '80s TV show knockoff a modern day appeal.
Season 3
Episode 1
Hosts: Brandon Burke, Marc Christ
First Air Date: February 6, 2023
Duration: 21 minutes 27 seconds