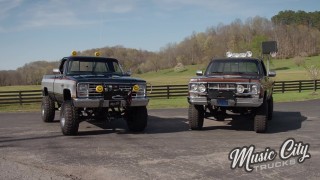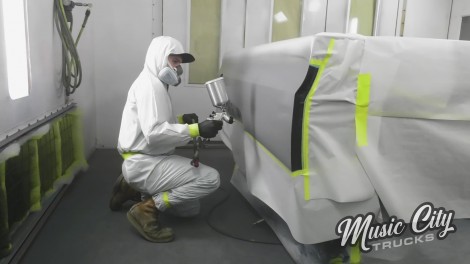
Faux Guy K-10 Square Body Gets Its Two-Tone Paint
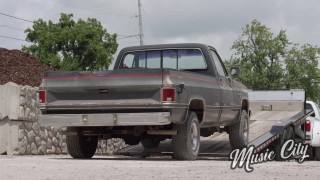
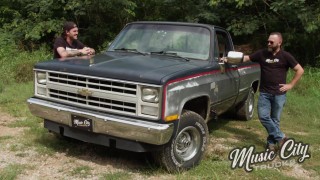
Our 1985 Chevy K-10 square body gets stripped, sanded and primed. Then we’ll bring it back to its original glory with a gorgeous two-tone paint job that’s sure to turn heads!
Season 3
Episode 2
Hosts: Brandon Burke, Marc Christ
First Air Date: February 13, 2023
Duration: 21 minutes 27 seconds