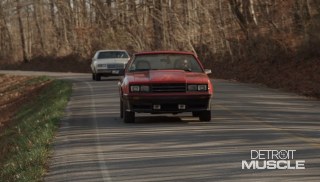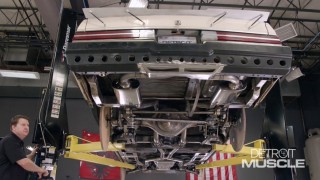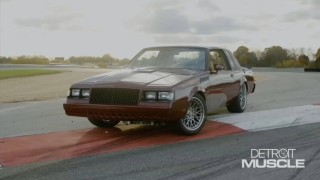
Tips for Custom Brake Lines and Hoses
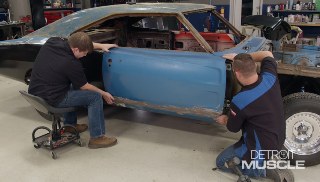
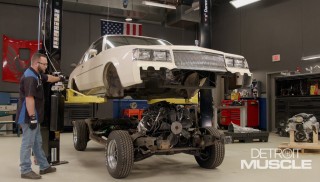
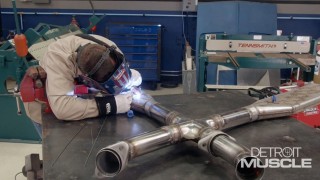
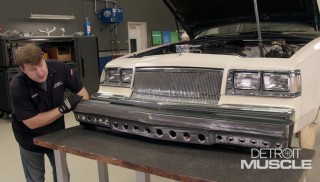
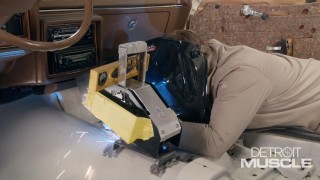
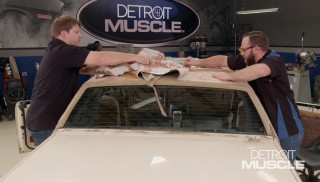
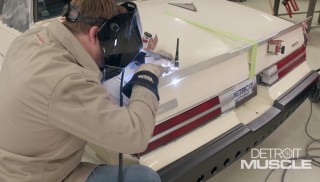
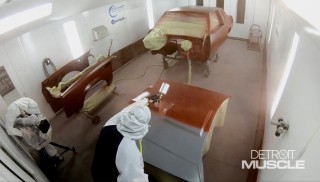
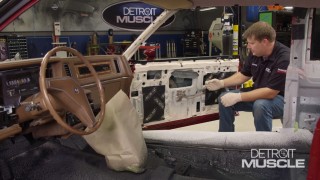
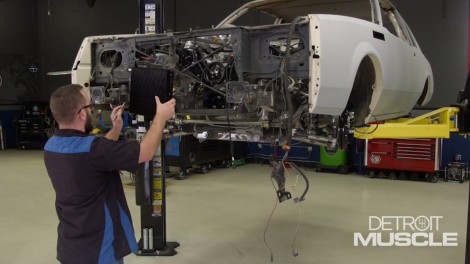
All of the mechanical and electrical systems are getting buttoned up on our '85 Buick Street Regal. That includes tips and techniques for custom hoses and brake lines.
Season 7
Episode 9
Hosts: Tommy Boshers, Marc Christ
First Air Date: April 23, 2020
Duration: 21 minutes 33 seconds