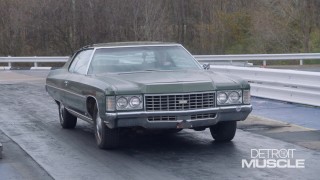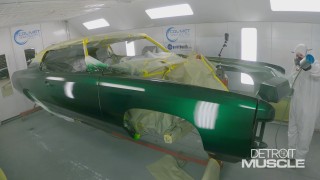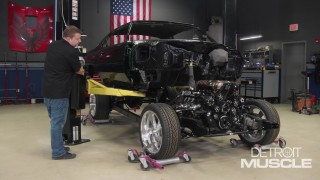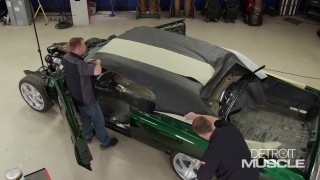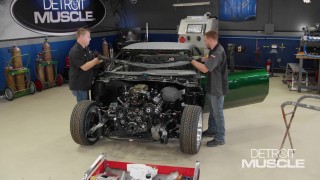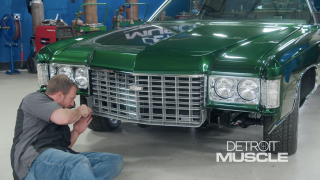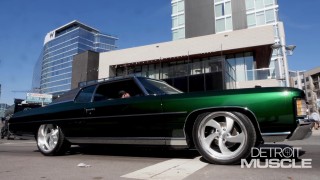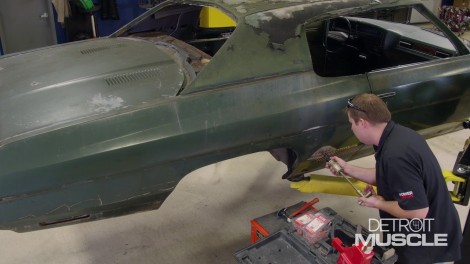
Busting Rust & Mending Dents On The '71 Caprice - Fat Stack Part 4
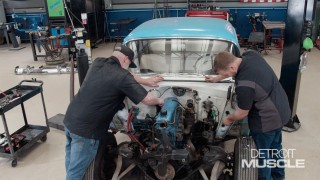
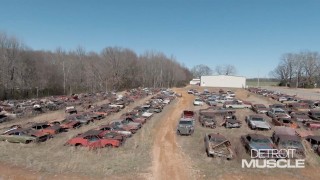
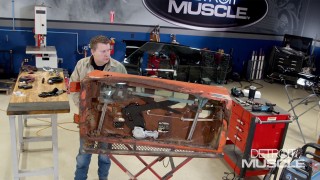
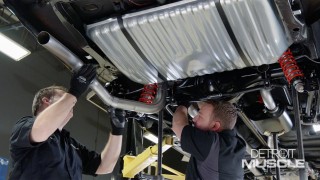
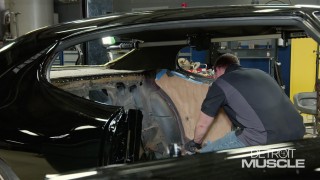
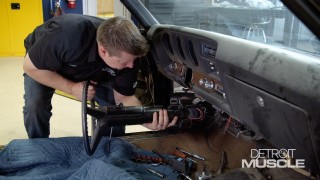
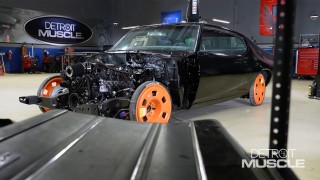
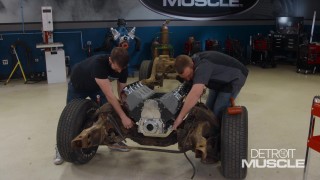
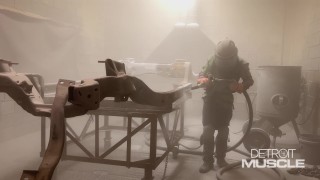
We make repairs on Fat Stack, a 1971 Chevy Caprice, showing you how to remove rust and pull dents. Then, we’ll cruise around in a ‘73 Camaro to diagnose what needs fixing as we help another viewer with a Driveway Rescue.
Season 10
Episode 4