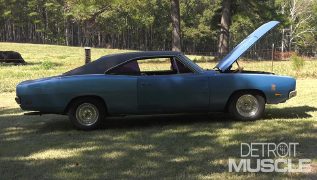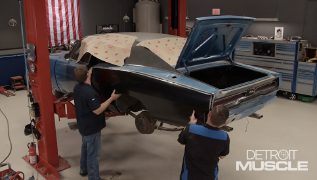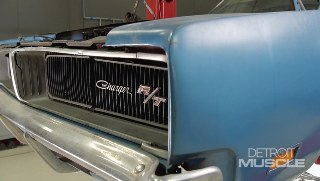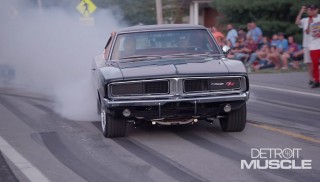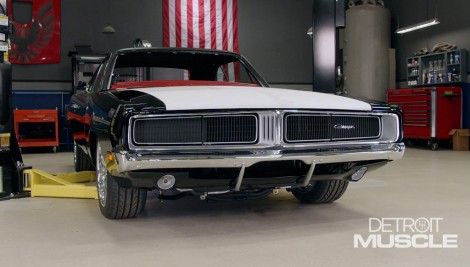
’69 Charger Front End Assembly
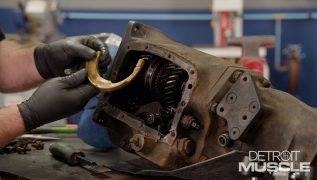
Project Hard Charger gets the front end buttoned up and we help a viewer restore his cranky Camaro.
Season 6
Episode 15
Hosts: Tommy Boshers, Marc Christ
First Air Date: July 21, 2019
Duration: 20 minutes 23 seconds