Disguising a High Revving 347 for our Sleeper Granada
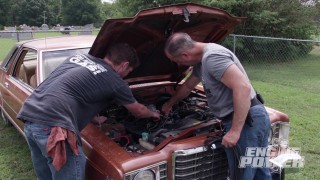
Our Granada has plenty of Seventies Style, but precious little power. This sounds like a good candidate for a sleeper build!
Season 9
Episode 13
Hosts: Pat Topolinski, Frankie Forman
First Air Date: October 3, 2022
Duration: 21 minutes 30 seconds