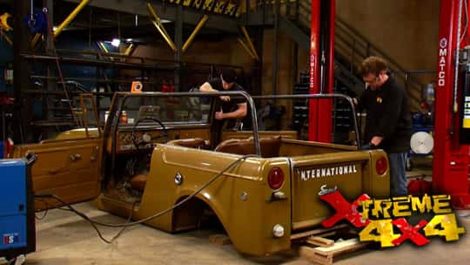
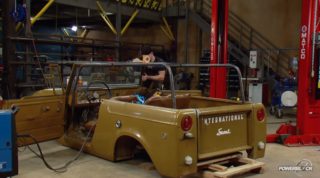
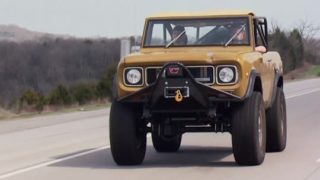
More '69 International Scout 4x4 Episodes

Xtreme 4x4 Builds


Want more content like this?
Join the PowerNation Email NewsletterParts Used In This Episode
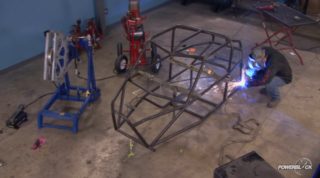
PipeMaster Tools
Pro Racer Kit:Includes: 1", 1-1/4", 1-1/2", 1-3/4" & 2" tubing tools in a foam lined plastic case.
2020 Software Solutions, Inc.
Bend-Tech PRO software.
A&A Manufacturing
Roll Cage Foot Plate.
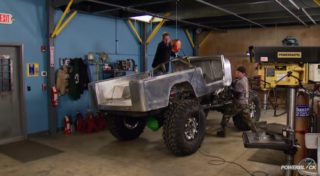
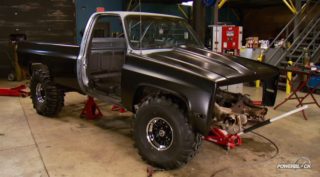
Gen Right Off Road
Metal Tube Fenders, Aluminum Filler Panels.
MasterCraft Safety
Performance Suspension Bench Seat, Loback Rubicon seats.
MasterCraft Safety
Restraint systems in 2" and 3" versions for competitive and recreational use.
Pro-Tools
Pro Model 105 Mechanical Tube and Pipe Bender. 10 Ton Air Over Hydraulic Conversion Kit .
Tube Shark
SharkPool Combines TubeShark Bender & Notcher on Sturdy Rolling Bench.
Williams Lowbuck Tools, Inc.
LOWBUCK Tubing Bender. The Bender Frame is made of welded square tubing. You have got an 8 ton hydraulic jack to do the work for you. The Dies are made of solid cast aluminum. All of this is pre-assembled in a bender package that weighs less than 50 lbs.
Xtreme Off-Road Racing
The Xtreme Rock Racing Association, with nationwide events showcasing hard core off road vehicles racing against the clock in an awesome rock crawling/racing venue.


