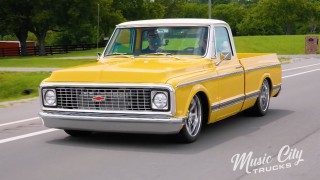


Music City Trucks Featured Projects
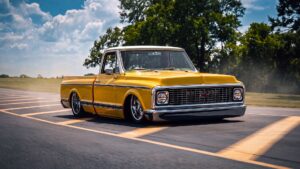


Music City Trucks Builds


Want more content like this?
Join the PowerNation Email NewsletterParts Used In This Episode
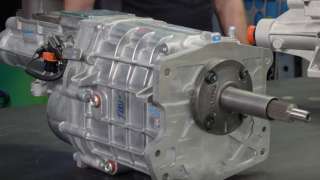
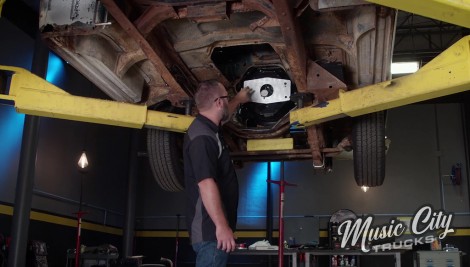
American Powertrain Systems
Transmission Kits, Clutches, Flywheels, Cross Members, Mounts, and More