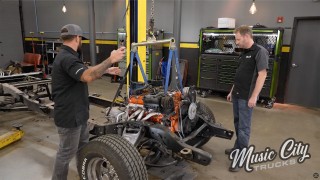
Suspension Upgrade Gives The Ram 1500 A 4" Lift
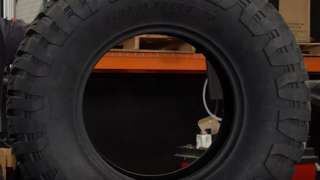
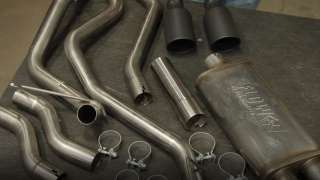
Now that our Ram 1500 is looking better, we take it up a notch with a 4-inch lift, new wheels and tires, and an exhaust system to make it sound as good as it looks.
Season 3
Episode 11
Hosts: Marc Christ, Eric Smart
First Air Date: July 17, 2023
Duration: 21 minutes 27 seconds