Top 5 Reasons Why Your Engine Won’t Start
Today we’ll show you the 5 most common reasons your engine won’t start...and how to fix it!
Season 10
Episode 8
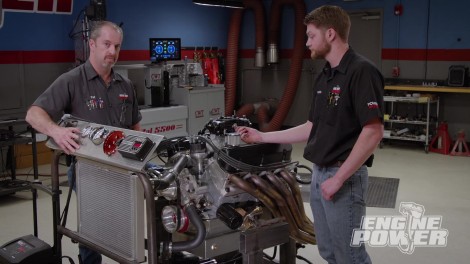
Hosts: Pat Topolinski, Frankie Forman
First Air Date: June 26, 2023
Duration: 21 minutes 27 seconds