Twin Big Blocks Dyno'd Together Part 1
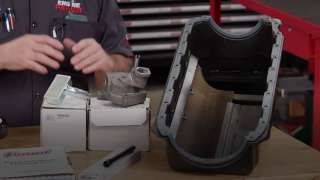
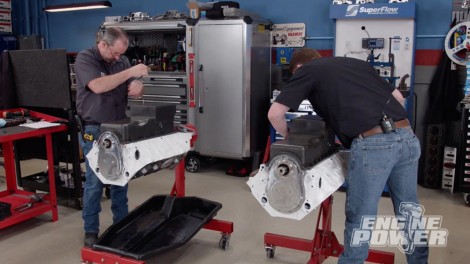
We do something that has never been done before: build two identical 496 Big Block Chevy engines to run on the dyno...at the SAME TIME!!
Season 9
Episode 5
Hosts: Pat Topolinski, Frankie Forman
First Air Date: March 21, 2022
Duration: 21 minutes 30 seconds