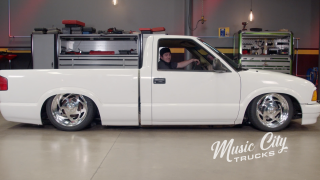
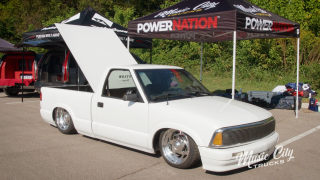
Dropping The Chevy S-10 Suspension with Air Bags
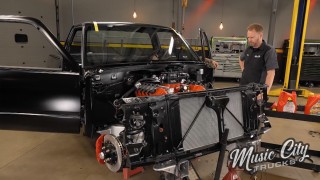
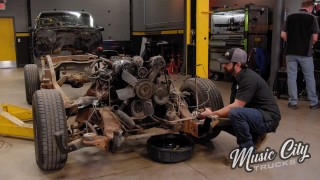
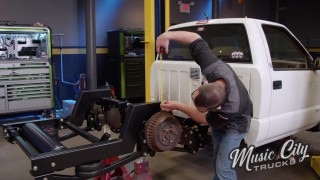
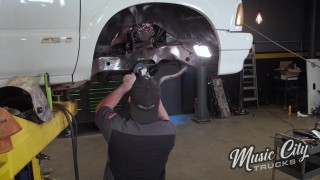
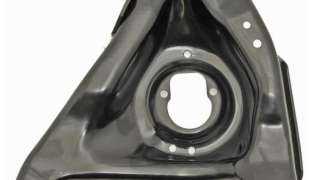
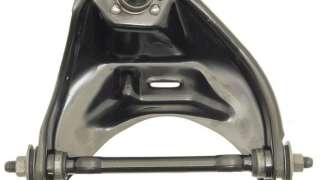
Our Chevy Low-Fi S-10 project continues and today is front suspension teardown and upgrades. We remove the a-arms, shocks, and springs. Then we bolt in air bags and lift this project off the ground.
Season 3
Episode 9