Modding A Jeep Wrangler JK Into An Extreme Off-Road Weekend Warrior Part 2
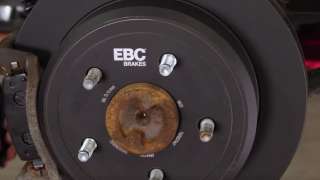
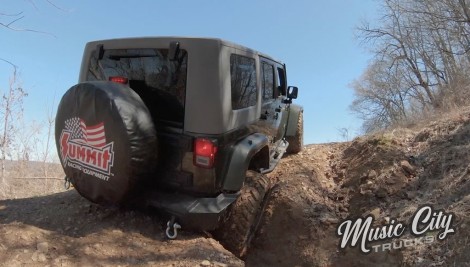
We upgrade the brakes, repair underside problems, and put some great new off-road and recovery mods on our 2007 Jeep Wrangler JK. Then we’ll take it out for a wheeling adventure.
Season 2
Episode 6
Hosts: Brandon Burke, Marc Christ
First Air Date: April 18, 2022
Duration: 21 minutes 30 seconds