Cruisin' Caprice Wagon
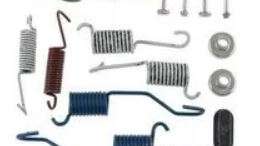
The Carcass builders bring in an old 1984 Chevrolet Land Yacht to give it some custom touches for some family fun. They will tear down and clean up 40 years of dirt, then start replacing worn out suspension parts to get this wagon road worthy.
Season 5
Episode 3
Hosts: Jeremy Weckman, Jimmy King
First Air Date: March 18, 2024
Duration: 21 minutes 27 seconds