Converting A Toyota 4Runner Into An Overlanding Rig - Part 1
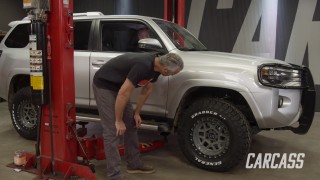
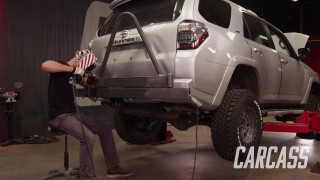
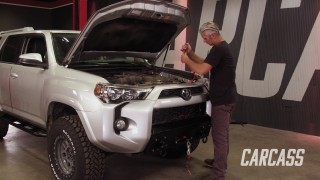
The guys from Carcass start converting a Toyota 4Runner into a self-sustaining off road expedition vehicle. We install a new suspension front and rear, upgrade our brakes and rotors, plus we throw on bigger wheels and tire.
Season 3
Episode 12
First Air Date: August 1, 2022