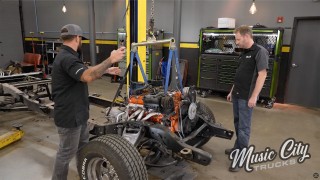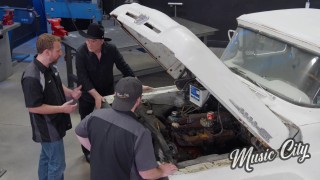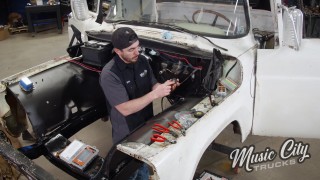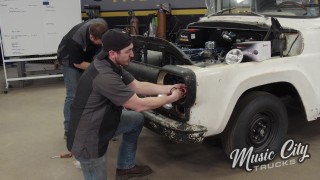
OEM Ford F-100 Suspension Swap
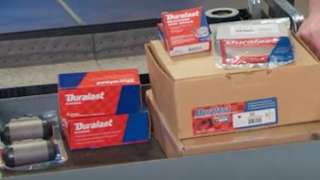
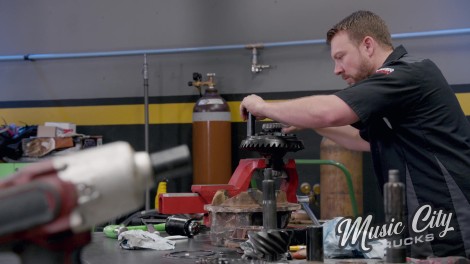
Shockingly, a sixty-year-old suspension needs replacing. So, Eric and Joel kick it old school with some OEM parts for Clint Black’s 1960 Ford F-100.
Season 4
Episode 2
Hosts: Eric Smart, Joel McMillan
First Air Date: March 11, 2024
Duration: 21 minutes 27 seconds