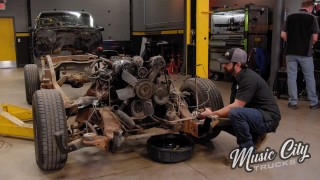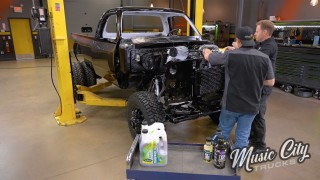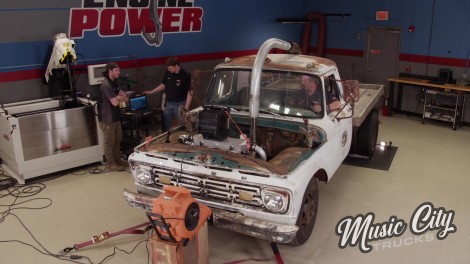
Turbocharged Ford 300 Flatbed Dynoed
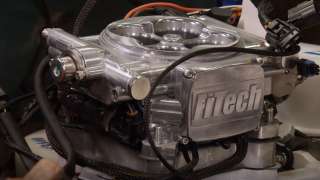
We plumb the turbocharger in our 1964 Ford Flatbed truck. We’ll also install the fuel and cooling systems. After a tune-up we’ll head to the Engine Power shop and test our work on their chassis dyno.
Season 2
Episode 8