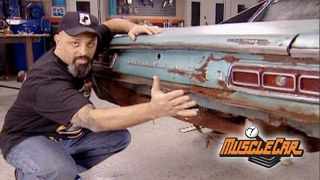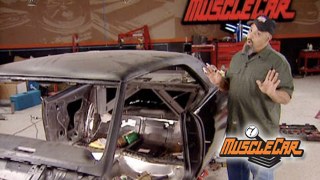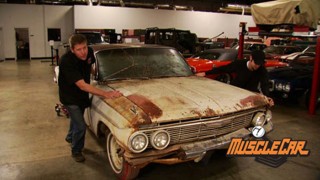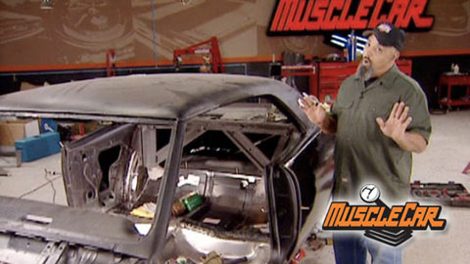
Project '67 LeMans Body Fabrication & Repair
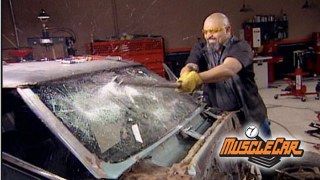
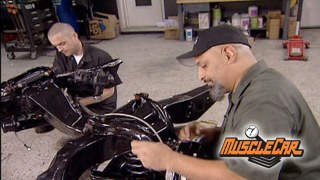
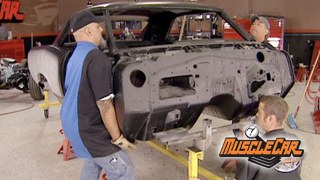
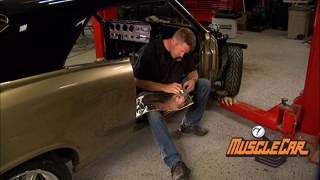
Lou challenges himself with some very difficult body fabrication and repair on what little we salvaged from our '67 Le Mans body.
Season 2
Episode 17
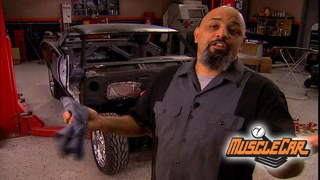
Hosts: Lou Santiago
First Air Date: July 15, 2007
Duration: 16 minutes 53 seconds