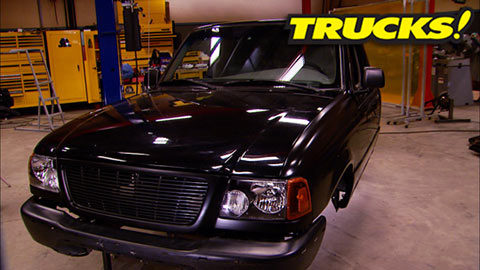


More '01 Mazda B2500/Ford Ranger "Rolling Thunder" Episodes

More Rolling Thunder Episodes

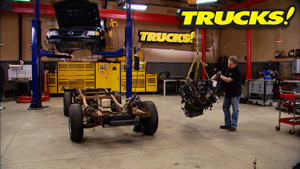
Trucks! Builds


Want more content like this?
Join the PowerNation Email NewsletterParts Used In This Episode
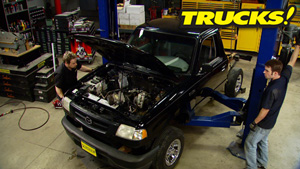
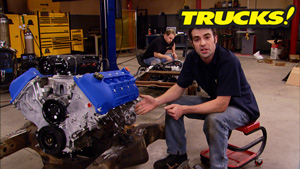
Ford Performance Parts
Ford Racing 2003-04 Mustang Cobra Upgraded Whipple Supercharger Kit
Accufab,Inc.
High Flow Throttle Body
Fore Precision Works, LLC
Billet Fuel Rails for 2003-2004 Cobra
Fore Precision Works, LLC
Dual GSS Fuel Pump and Pickup Assembly
Fore Precision Works, LLC
F2 Fuel Pressure Regulator
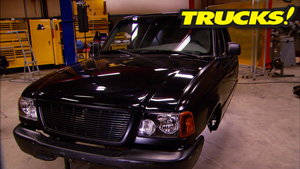
LMC Truck
Chrome 12 Bar Grille Shell
LMC Truck
Euro Style Headlights and Corner Lenses (Black)
LMC Truck
Front Lower Valance with Fog Light Holes
LMC Truck
Grille Reinforcement Panel
LMC Truck
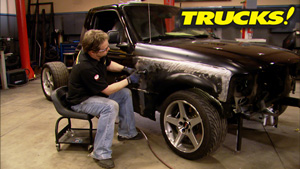
LH Front Fender 98-03 Ranger
LMC Truck
Paintable 12 Bar Grille Shell
LMC Truck
RH Front Fender 98-03 Ranger
Performance Trends Inc.
Suspension Analyzer v2.0
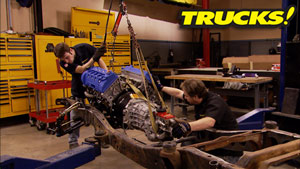
Tremec
Tremec T56 MAGNUM 6-speed