


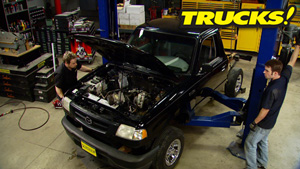
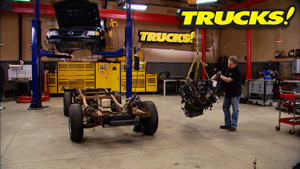
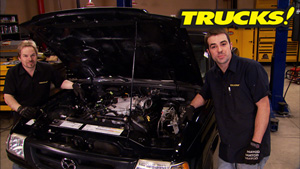
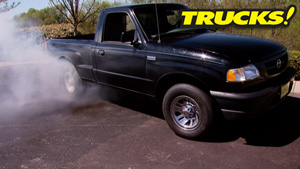
More '01 Mazda B2500/Ford Ranger "Rolling Thunder" Episodes

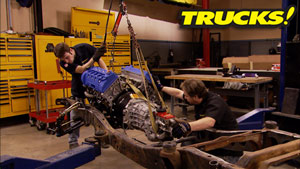
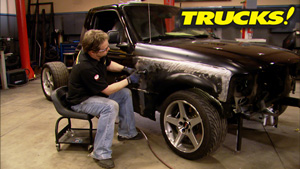
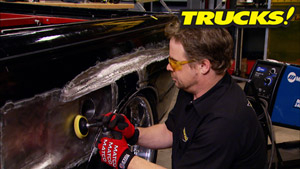
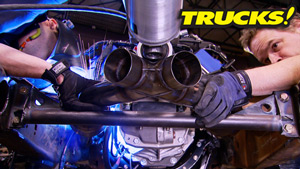

More Rolling Thunder Episodes

Trucks! Builds


Want more content like this?
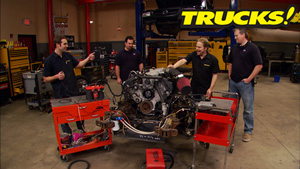
Join the PowerNation Email NewsletterParts Used In This Episode
C.P.I. Divisions
Alternator Repair Kit
Dunne-Rite Performance LLC
80mm ProM Mass Air Flow Sensor and Conical Filter
Dunne-Rite Performance LLC
EFI Custom Wiring Harness
Dunne-Rite Performance LLC
Modified PCM
Dunne-Rite Performance LLC
Return Style Fuel Adaptor Block and Regulator
Gold Eagle Co.
Start Your Engines! is the easy, 1-step fuel system revitalizer.
O'Reilly Auto Parts
In-Tank Fuel Pump


