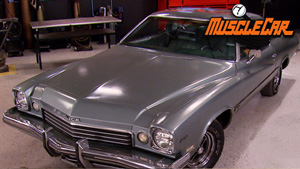
Slow, Low, And Being Seen In a Cool Low Buck Buick Restmod
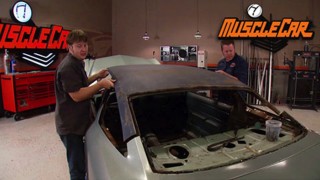
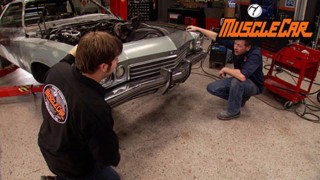
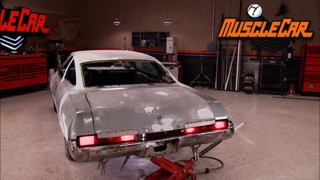
Learn how to refresh an interior on a budget with tips on dash pad and seat repair, dyeing vinyl, fabricating panels, and refurbing original parts. Project Blue Collar Buick hits the road for the first time. Flashback features a 1970 Buick GS.
Season 5
Episode 22
Hosts: Rick Bacon, Tommy Boshers
First Air Date: November 27, 2010
Duration: 17 minutes 3 seconds