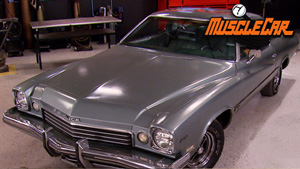
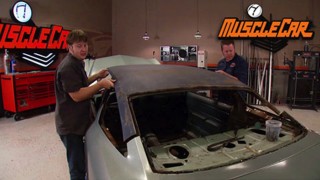
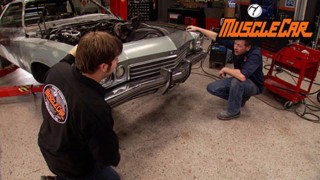
Blue Collar Engine Compartment Makeover
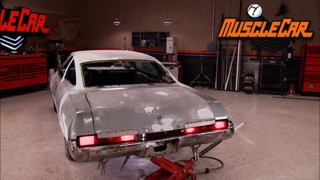
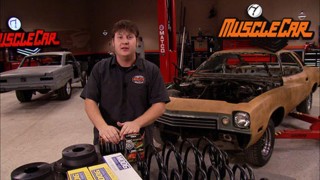
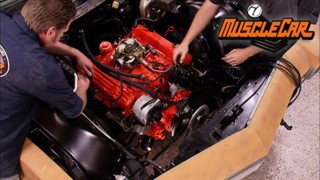
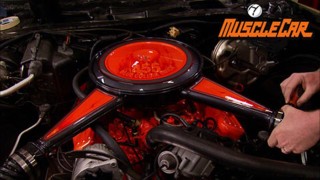
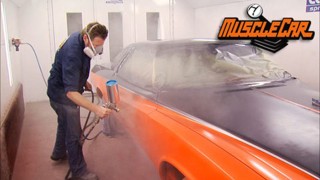
Project Blue Collar Buick gets an amazing under-hood transformation that's cheap and easy to achieve. The big-block 455 Buick engine roars to life for the first time, and Flashback features a 1969 Camaro Z-28 Rally Sport.
Season 5
Episode 15
Hosts: Rick Bacon, Tommy Boshers
First Air Date: August 7, 2010
Duration: 17 minutes 4 seconds