Final Day for Old Blue Hair
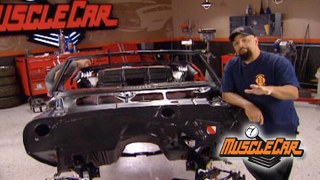
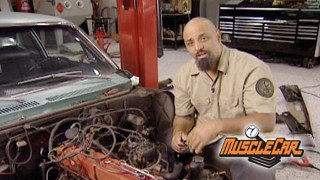
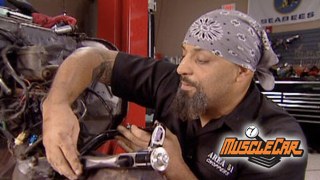
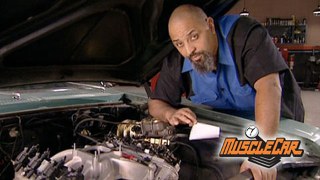
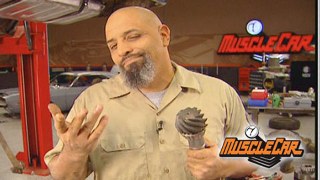
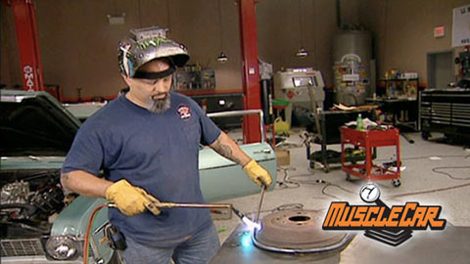
Project "Blue Hair" is set up to receive a new flywheel and clutch. Lou fabricates a transmission tunnel to accept the Rockland T-6 trans and a little interior modification helps with the "sleeper" look. A new set of wheels put's "Blue Hair" back on her feet! Musclecar's flashback segment looks at AMC's SC/Scrambler!
Season 2
Episode 3
Hosts: Lou Santiago
First Air Date: January 21, 2007
Duration: 16 minutes 51 seconds