


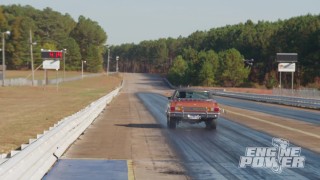
More Spicy Sleeper Granada Episodes

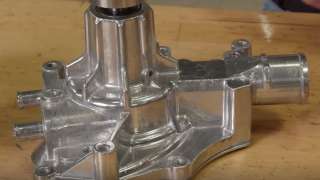
Engine Power Featured Projects


Engine Power Builds


Want more content like this?
Join the PowerNation Email NewsletterParts Used In This Episode

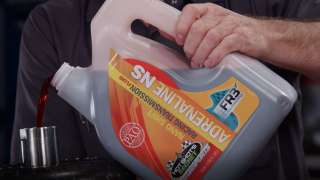
Lubrication Specialties
Hot Shot's Secret Adrenaline NS Nano Shift Racing Transmission Fluid


Sunnen Products Company
Sunnen SV-15 Honing Machine
The Industrial Depot
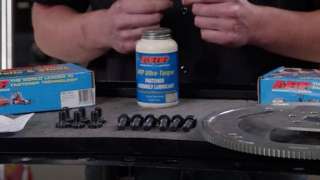
Tools, Hardware, Shop Supplies


