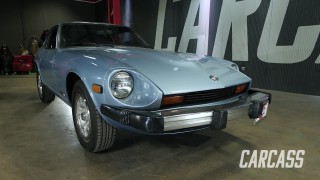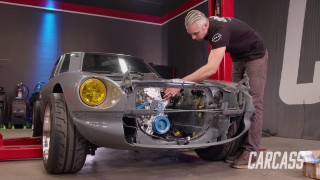
Adding JDM Styling Cues To The 1978 Datsun 280Z Heritage Restomod
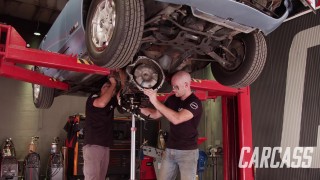
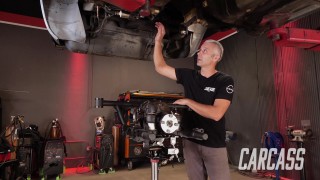
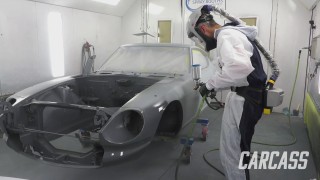
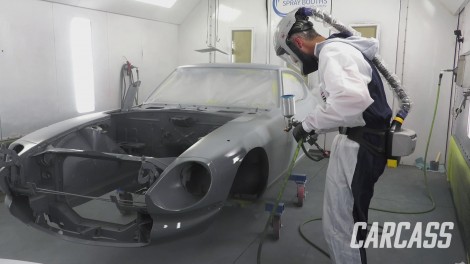
The Carcass crew makes body modifications to our 1978 280Z that take on some JDM styling cues. And we’re in the paint booth to show you how to make your paint come out smooth as glass.
Season 4
Episode 1
Hosts: Jeremy Weckman, Jimmy King
First Air Date: January 30, 2023
Duration: 21 minutes 26 seconds