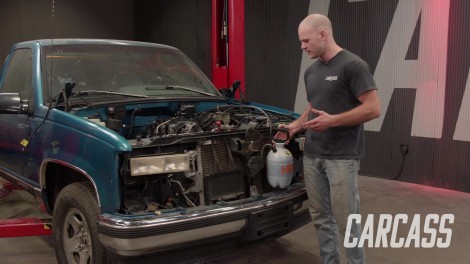


Carcass Featured Projects


Carcass Builds


Want more content like this?
Join the PowerNation Email NewsletterParts Used In This Episode
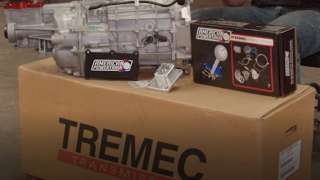
American Powertrain Systems
Tremec T56 Magnum Transmission with Hydromax Hydraulic Clutch Kit
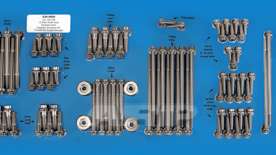

The Industrial Depot
Tools, Hardware, Shop Supplies


