


More Square Body Tow Truck Episodes
Carcass Featured Projects


Carcass Builds


Want more content like this?
Join the PowerNation Email NewsletterParts Used In This Episode
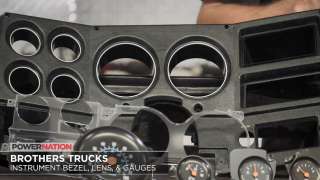
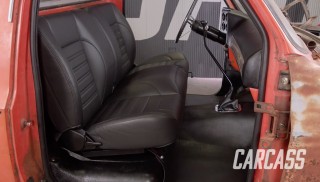
Brothers Truck Parts
Dash Pad, Instrument Bezel, Gauges, Sport Steering Wheel Kit, Door Seals, Rubber Floor Mat
Matco Tools
20V+ Cordless Infinium Brushless Grinder
Matco Tools
MATCO Tools are the Official Tool Supplier to PowerNation
The Industrial Depot
Tools, Hardware, Shop Supplies
Tire Streets
Armstrong Tires Tru Trac


