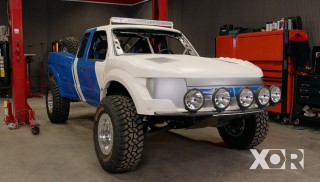
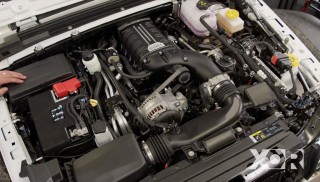
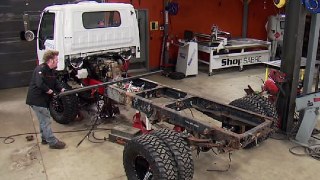
Keeping a Coyote V8 Cool On a Ford Ranger Prerunner
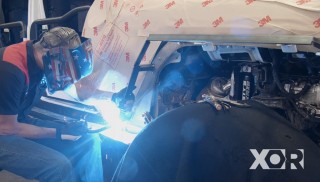
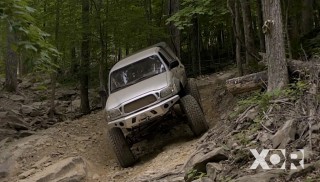
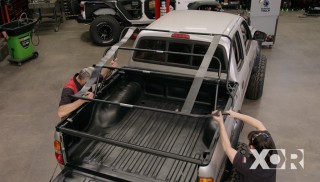
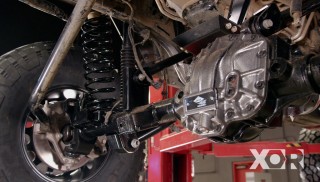
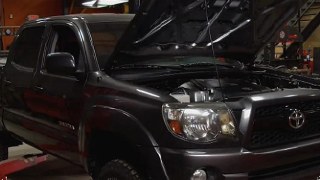
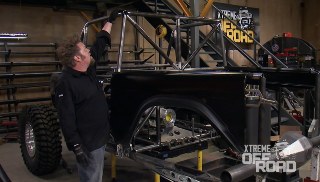
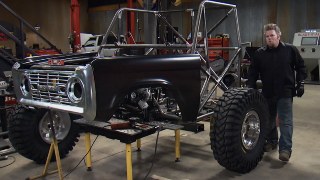
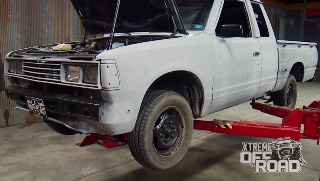
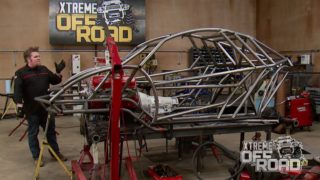
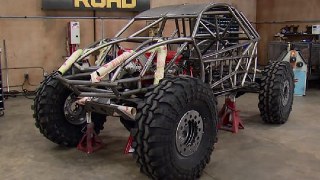
The Prerunner Ranger’s rollcage gets more tube work fabrication plus, we pick up a Tacoma for a new off-road project.
Season 6
Episode 2
Hosts: Eliza Leon, Jeremy Weckman
First Air Date: January 20, 2019
Duration: 20 minutes 23 seconds