Jeep JL Clearance Time
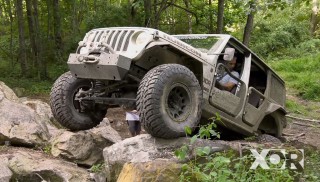
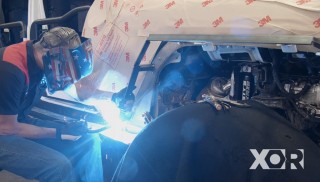
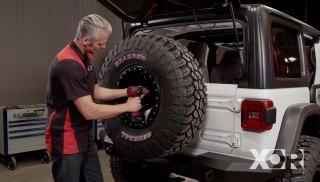
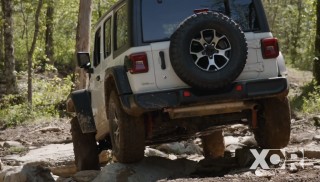
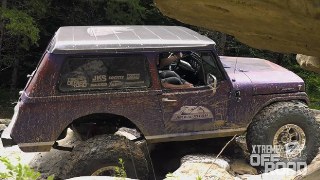
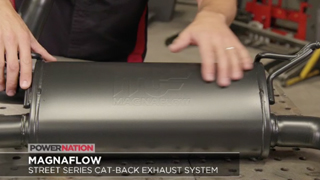
It's clearance time in XOR! The Jeep JL is getting ready for their upcoming Off Road Adventure with new custom-built fenders and a MagnaFlow exhaust.
Season 6
Episode 18
Hosts: Jeremy Weckman
First Air Date: September 29, 2019
Duration: 20 minutes 23 seconds