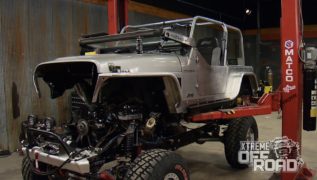
Prerunner Ranger's Final Hours
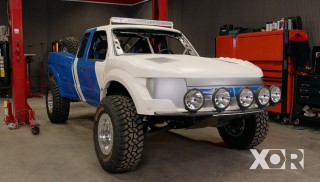
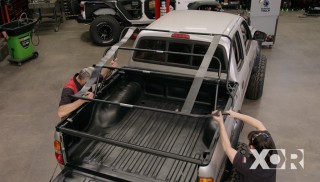
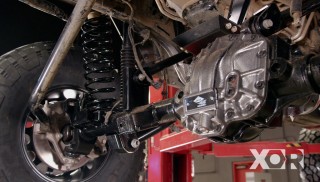
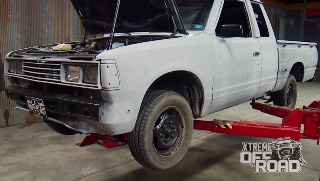
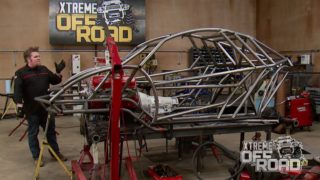
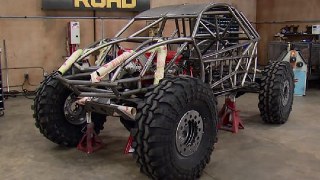
Our Ford PrerunnerRanger is in its final hours. The rear axle is going in its final location, and we're making a few aesthetic changes out front.
Season 6
Episode 19
Hosts: Jeremy Weckman
First Air Date: October 27, 2019
Duration: 20 minutes 22 seconds