Duramax Diesel Fuel Upgrades for High Performance
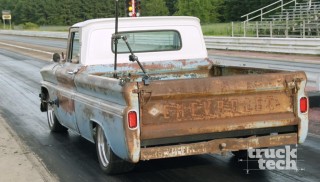
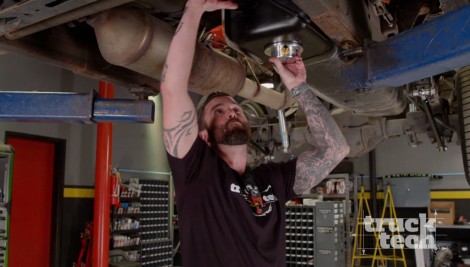
Dragonali’s Duramax gets a lift pump to handle higher horsepower. And our ’65 C10 Lo ‘n Slo is back with the rebuilt 292 straight-six. It’s fitted on the Engine Power dyno for some initial pulls.
Season 7
Episode 3
Hosts: Lawrence "LT" Tolman, Austin Lefort
First Air Date: February 8, 2020
Duration: 21 minutes 43 seconds