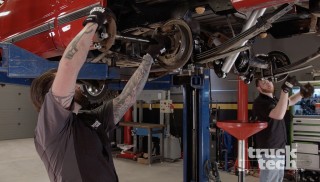
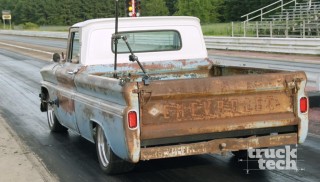
Rebuilding the Rear End of a Chevy K1500
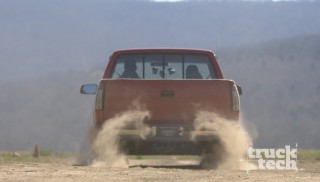
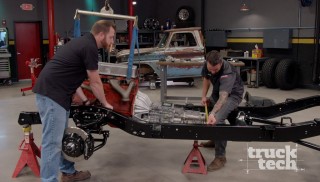
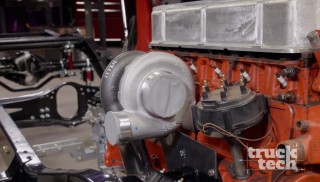
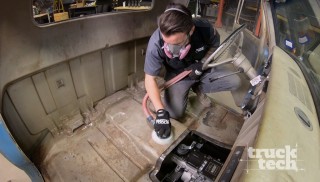
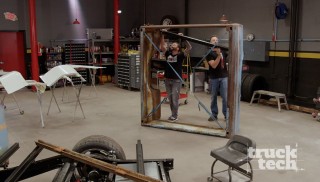
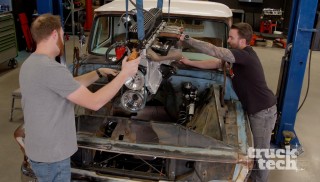
LT and Austin take delivery on “Project Lo ‘n Slo”. Find out what’s in store for this 53 year old C-10. Plus loose ends on the Chevy K1500 “RedTide” get tied up including gearing and a rear-end rebuild.
Season 6
Episode 8
First Air Date: April 14, 2019