Shows
Projects
Where To Watch
Store
Host Search
Under The Hood
Calculators
Automotive News
Email Sign-up
Giveaways
WATCH NOW
Music City Trucks
Join Free
Login
WATCH NOW
Music City Trucks
Shows
Projects
Where To Watch
Calculators
WATCH NOW
Music City Trucks
Join Free
Login
Dirt & Trails
Music City Trucks
Detroit Muscle
Engine Power
MORE
Fat Stack 1971 Caprice
Road Burner
Nissan Project Trailgater
Clint Black’s F100
MORE
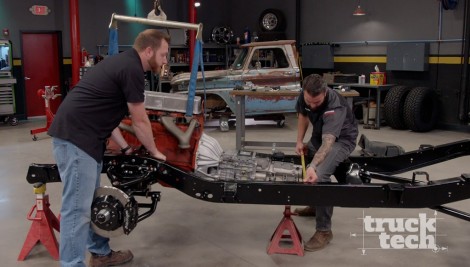
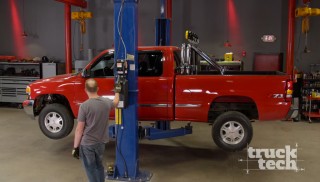
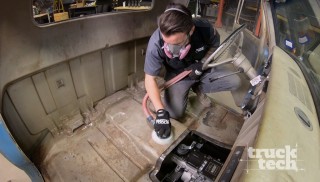
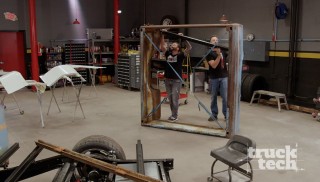
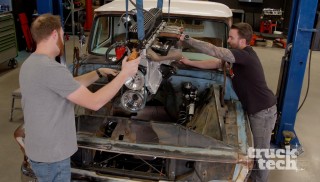
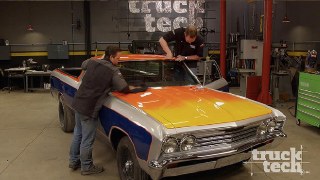
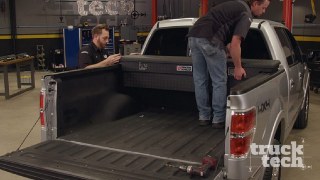
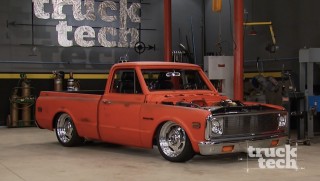
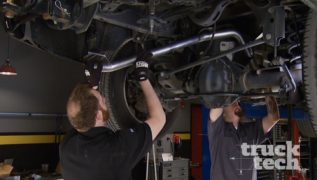
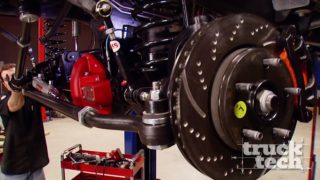
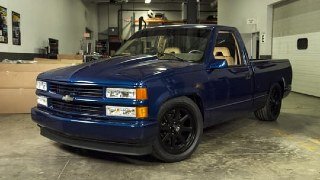
Slammed '65 C10 Fleetside
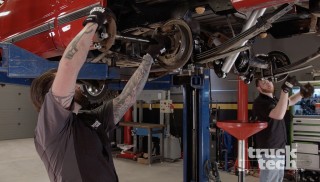
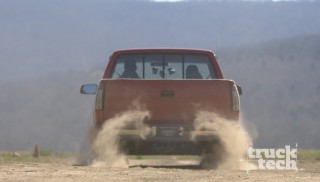
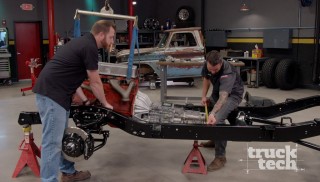
The '65 C10 Fleetside gets a coilover conversion that will slam her to the ground!
Season 6
Episode 13
Parts
In This Episode
Change Season
Latest Episodes
Season 7
Season 6
Season 5
Season 4
Season 3
Season 2
Season 1
Latest Truck Tech Videos
Season 7
Episode 22
’65 C10 Rewind 2
Season 7
Episode 21
’65 C10 Rewind 1
Season 7
Episode 20
Making Room for Bigger Tires On Our Lifted GMC Sierr...
Season 7
Episode 19
Took Our '65 Fleetside Chevy C10 to the Dragstrip an...
Season 7
Episode 18
Adding Posi-traction to our ’02 Old School Sierra
Season 7
Episode 17
Adding '90s Flair To A 2000s GMC Daily Driver
Season 7
Episode 16
Lowered '88 K1500 Sierra Turns Into a Lowered LS-Pow...
Season 7
Episode 15
And the Winner Is? Ram SRT-10 vs. F150 EcoBoost
Season 7
Episode 14
Put Up or Shut Up: Does Our Upgraded Duramax GMC Den...
Season 7
Episode 13
Who Wins Dyno Test? V10 SRT10 or Twin-Turbo V6 F150?
More Lo 'N Slow Episodes
Season 6
Episode 8
Rebuilding the Rear End of a Chevy K1500
Season 6
Episode 10
’65 Chevy C10 Teardown
Season 6
Episode 13
Slammed '65 C10 Fleetside
Season 6
Episode 17
1965 Chevy C10 292 Straight Six Turbo
Season 6
Episode 18
1965 Chevy C10 Patina
Season 6
Episode 19
'65 Chevy C10 and '96 Ram 3500
Season 7
Episode 1
Installing an Aluminum Bed Floor Kit in a Chevy C10
Season 7
Episode 3
Duramax Diesel Fuel Upgrades for High Performance
Season 7
Episode 6
Boosted Classic 292 Straight-Six
Season 7
Episode 19
Took Our '65 Fleetside Chevy C10 to the Dragstrip an...
Truck Tech Builds
2 Episodes
Sea Foam Truck Tech Sweepstakes
10 Episodes
Lo 'N Slow
6 Episodes
Red Tide
3 Episodes
Identity Crisis (El Camino)
12 Episodes
Klassy K5 (Blazer)
8 Episodes
Model A
8 Episodes
SuperMax (Duramax)
3 Episodes
Workahauler F150
8 Episodes
Fauxtina '71 C10
2 Episodes
Project Hemi-Hauler
2 Episodes
Project Wild Frontier
4 Episodes
Wrangler Re-Do
7 Episodes
Project Nightrain
14 Episodes
Super Dually
5 Episodes
Hemi JK
14 Episodes
Project Basket Case
9 Episodes
'93 Chevy Silverado "Senior Silverado"
3 Episodes
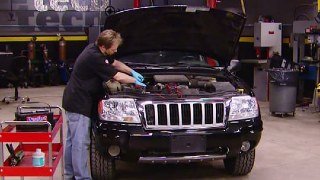
'04 Jeep Grand Cherokee "Tired Cherokee"
Want more content like this?
Join the PowerNation Email Newsletter
Parts Used In This Episode
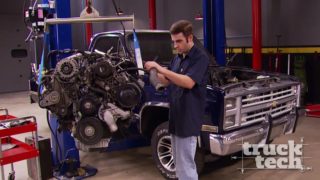
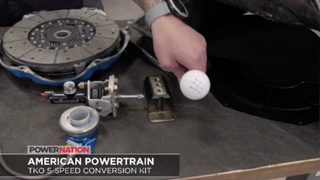
American Powertrain Systems
TKO 5-Speed Conversion Kit
More Info
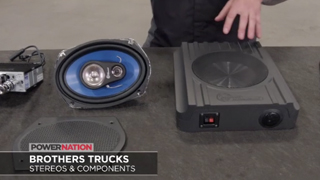
Brothers Truck Parts
Stereo & Components
More Info
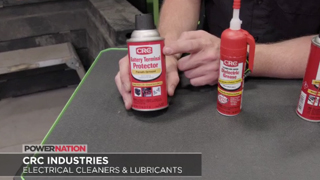
CRC Industries
Electrical Cleaners & Lubricants
More Info
MMLJ, Inc
DB500® Mobile S™
More Info
American Powertrain Systems
Tremec TKO 5-Speed Transmission
Matco Tools
Matco Tools are the Official Tool Supplier to Truck Tech
QA1
Coil-Over Conversion for '63 - '87 C10
The Industrial Depot
Tools, Hardware, and Shop Supplies
Latest PowerNation News
HEMI Resurrection: Ram 1500 Roars Back with Massive Preorder Surge
Congratulations To The Continental Tire POWERNATION Sweepstakes Winner!
What’s the Deal With Different Octane Ratings at the Pump?
Upgrades Galore!