Camino Shop Truck and Camaro Crate Engine!
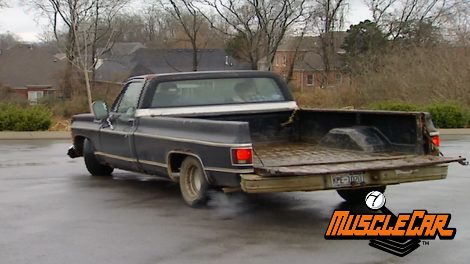
We embark on a mission to overhaul our 1978 El Camino, previously left unfinished by its former owner, into a reliable and powerful parts truck.
Season 1
Episode 3
First Air Date: August 22, 2018
Duration: 16 minutes 26 seconds


