


Engine Power Featured Projects


Engine Power Builds


Want more content like this?
Join the PowerNation Email NewsletterParts Used In This Episode
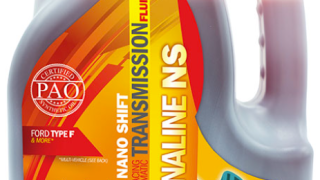
Lubrication Specialties
Hot Shot's Secret Adrenaline R Series Nano Shift Transmission Fluid
Chattanooga Driveline Service
Steel Driveshaft


