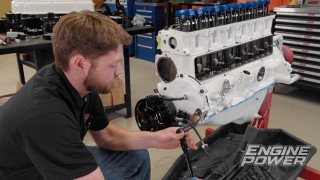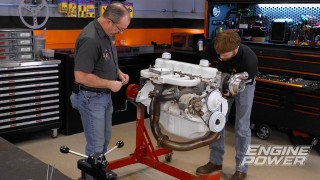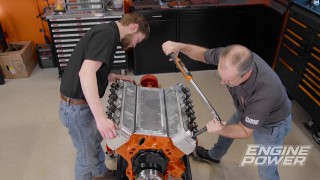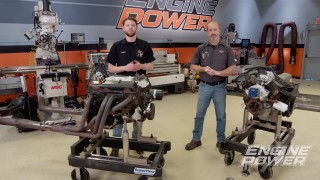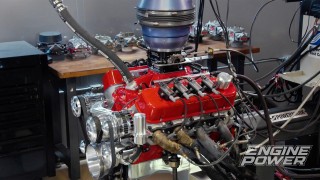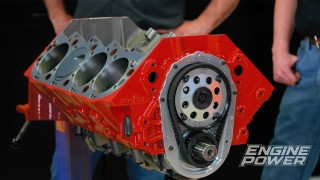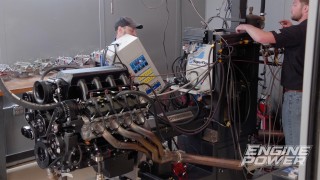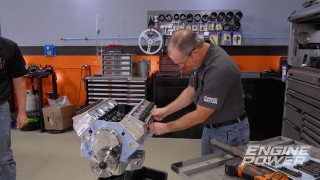
Modern 410ci Stroker Windsor with Custom EFI & Coil-Near-Plug Conversion - Part 2
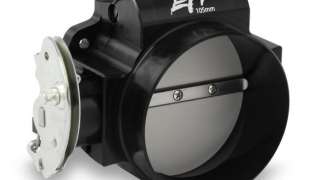
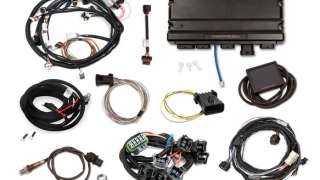
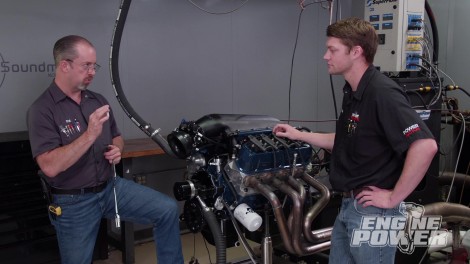
We’re expecting great numbers in the dyno cell for the 410ci Small Block Ford, after it receives an aggressive intake manifold, a custom coil-on-plug conversion, and a powerful EFI system!
Season 9
Episode 15