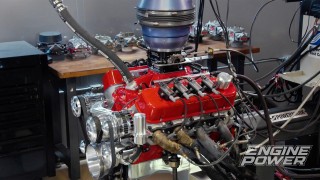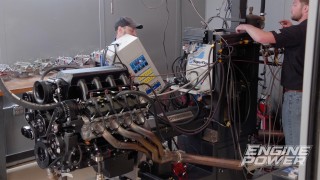
Over 13:1 on Pump Gas! Chevy 350 Dyno Mule - Part 1
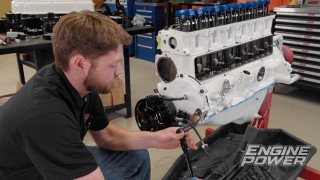
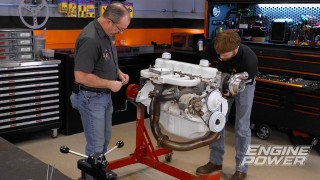
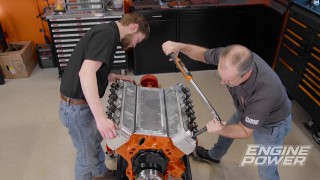
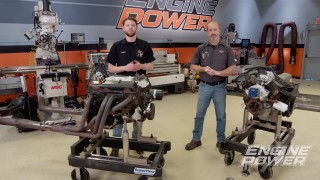
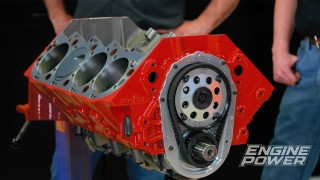
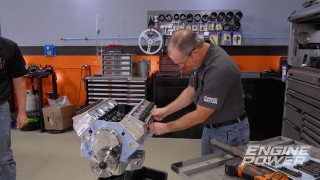
Last year we built a 350 ci Small Block Chevy in the parking lot. This year it comes inside for some well-deserved upgrades to the short block assembly.
Season 9
Episode 9