


Engine Power Featured Projects


Engine Power Builds


Want more content like this?
Join the PowerNation Email NewsletterParts Used In This Episode
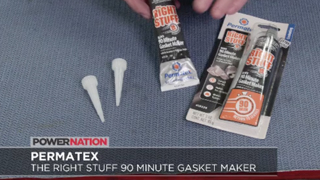
Permatex
90 minute Gasket Maker, Orange Threadlocker, Silicon Ceramic Extreme, Nickel Anti-Seize Lubricant
ARP
ARP is the Official Bolt Supplier to Engine Power
Matco Tools
MATCO Tools are the Official Tool Supplier to Engine Power


